Introduction
- DIY Wall Painting Tips for a Flawless Finish
- Choosing the Right Tools and Materials
- Prepping Your Walls
- Selecting the Right Paint
- Taping and Protecting Surfaces
- Cutting In: The First Step for a Professional Look
- The Importance of Multiple Coats
- Rolling Techniques for a Smooth Finish
- Blending and Feathering Paint
- Dealing with Paint Drips and Streaks
- Drying and Curing Time
- Touch-ups and Final Inspections
- Cleaning Up Like a Pro
- Conclusion
Ready to transform your living space? A fresh coat of paint can breathe new life into your home, creating a whole new atmosphere with just a few brush strokes. With the right DIY wall painting tips, you can achieve a professional paint finish without hiring a pro. From selecting the right tools and prepping your walls to mastering cutting-in techniques and applying smooth, even coats, a flawless finish is within reach. In this guide, we’ll share expert tips to help you transform your space with a high-quality, professional-looking paint job that will stand the test of time.
DIY Wall Painting Tips for a Flawless Finish

When it comes to giving your home a fresh look, these DIY wall painting tips can help you achieve a smooth, professional-grade finish. Start by prepping your walls—cleaning, filling holes, and applying a primer are essential steps for creating an even surface. Invest in high-quality brushes and rollers to avoid streaks and uneven texture. Be sure to use the right techniques, like cutting in around edges and rolling in a “W” pattern to ensure seamless coverage. By following these tips, you can make your DIY painting project look like it was done by a professional.
Choosing the Right Tools and Materials
The first step to professional-looking walls starts with using the right tools. Choosing premium brushes and rollers is essential, as they play a critical role in achieving a flawless, professional-quality finish that elevates the overall look. A smooth finish depends on good tools, so look for brushes that are specifically designed for the type of paint you’re using (latex or oil-based), and choose rollers that are appropriate for the texture of your walls.
Prepping Your Walls
Preparation is key to a successful paint job. Begin by giving your walls a deep clean to eliminate any dust, dirt, or grease, ensuring a smooth surface for the paint to adhere to seamlessly. Fill any cracks or holes with spackle and sand them down until smooth. Priming your walls before painting is also essential, especially if you’re covering dark colors or painting new drywall. This helps the paint bond effectively to the surface, providing a smooth and uniform foundation for a flawless finish.
Selecting the Right Paint
Selecting the perfect paint is key to transforming your space, as the right choice can dramatically impact the overall look and feel.” Consider the room’s purpose when selecting paint finishes. For instance, matte finishes work well in bedrooms and living rooms, while satin or gloss finishes are ideal for kitchens and bathrooms due to their durability and ease of cleaning. Ensure you select high-quality paint to avoid needing multiple coats and to achieve a professional result.
Taping and Protecting Surfaces
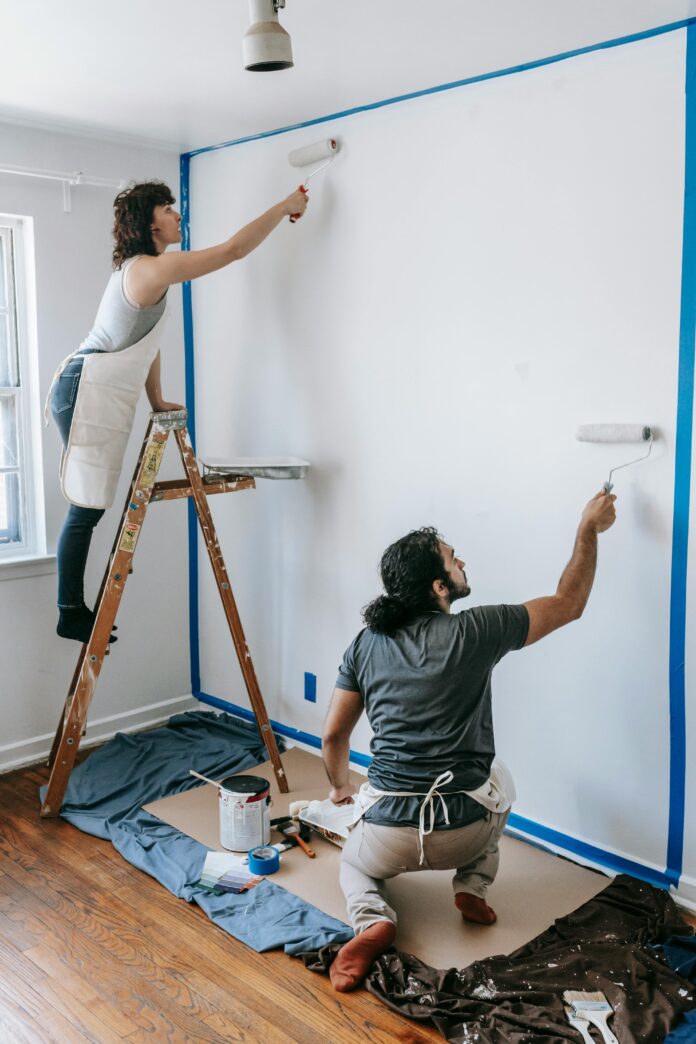
To get crisp, clean edges, proper taping is a must. Use painter’s tape along the edges of trim, ceilings, and floors to protect them from accidental paint smudges. Ensure the tape is securely adhered to the surface to block any paint from leaking underneath and creating uneven edges. Don’t forget to cover your furniture and floors with drop cloths or plastic sheeting to keep them safe from spills and splatters.
Cutting In: The First Step for a Professional Look
Before rolling paint onto large sections of the wall, cutting in is a critical step that many DIYers overlook. Cutting in involves painting the edges of walls (where they meet the ceiling, corners, and trim) with a brush. This technique ensures that these tricky areas are covered neatly, allowing you to roll the rest of the wall without worrying about smudging near the edges.
The Importance of Multiple Coats
To achieve a truly professional finish, applying multiple coats of paint is necessary. Even if the first coat seems to cover well, a second coat will smooth out any inconsistencies and deepen the color. Let the first coat dry fully before applying the second, and always use light, even strokes to avoid streaks and roller marks.
Rolling Techniques for a Smooth Finish
When it comes to rolling, the technique is everything. Start by loading your roller evenly—don’t overload it with too much paint. Begin rolling in a “W” pattern, covering a small section of the wall at a time. This technique ensures smooth, even coverage while preventing unsightly roller streaks from forming on your walls. Be sure to feather the edges where each section meets to blend the paint seamlessly.
Blending and Feathering Paint
Mastering the art of feathering is crucial for achieving a seamless, polished finish that exudes a professional touch. As you roll the paint, gently lift the roller at the edges of each section to prevent harsh lines. This process helps blend each stroke into the next, ensuring the finish looks even across the entire wall.
Dealing with Paint Drips and Streaks
Paint drips and streaks can ruin an otherwise perfect paint job.Prevent drips by wiping off any excess paint from your brush or roller before applying it to the wall. If a drip occurs, gently smooth it out while the paint is still fresh and wet. Once dry, sanding down any uneven areas will help correct imperfections.
Drying and Curing Time
Patience is key when painting. Allow plenty of time for each coat to dry before applying the next, usually at least 2-4 hours, depending on the paint type. Keep in mind that while paint may feel dry to the touch, it can take days to fully cure. Wait until the paint has fully cured before moving furniture back or cleaning the walls.
Touch-ups and Final Inspections
After the paint has dried, inspect your walls in good lighting to identify any areas that may need touch-ups. Grab a fine brush to carefully touch up any overlooked areas or minor imperfections for a flawless finish A final inspection ensures your walls are flawless and ready to impress.
Cleaning Up Like a Pro
Once your walls are perfectly painted, it’s time to clean up. Wash your brushes, rollers, and trays thoroughly to ensure they’re ready for future projects. Ensure the lids are tightly sealed on any remaining paint to keep it in good condition for future touch-up jobs
Conclusion
By following these DIY wall painting tips, you can achieve a professional finish at home. With the right preparation, techniques, and attention to detail, your walls will look stunning and last for years to come. So, grab your brushes and rollers, and get ready to transform your space like a pro!


