Introduction
When you need to transfer data between Windows PCs, it’s essential to follow best practices to ensure a smooth and secure process. Whether you’re upgrading to a new computer or sharing files between devices, having an efficient method can save you time and prevent data loss. Utilize reliable transfer methods like external storage devices, cloud storage services, or built-in Windows tools to move your files safely. Organizing your data, ensuring compatibility, and securing your files during the transfer are key steps to make the process seamless and successful.
1. Choosing the Right Method for Data Transfer
There are several methods available for transferring data between Windows PCs. The best method depends on factors like the amount of data, the devices involved, and your network setup.
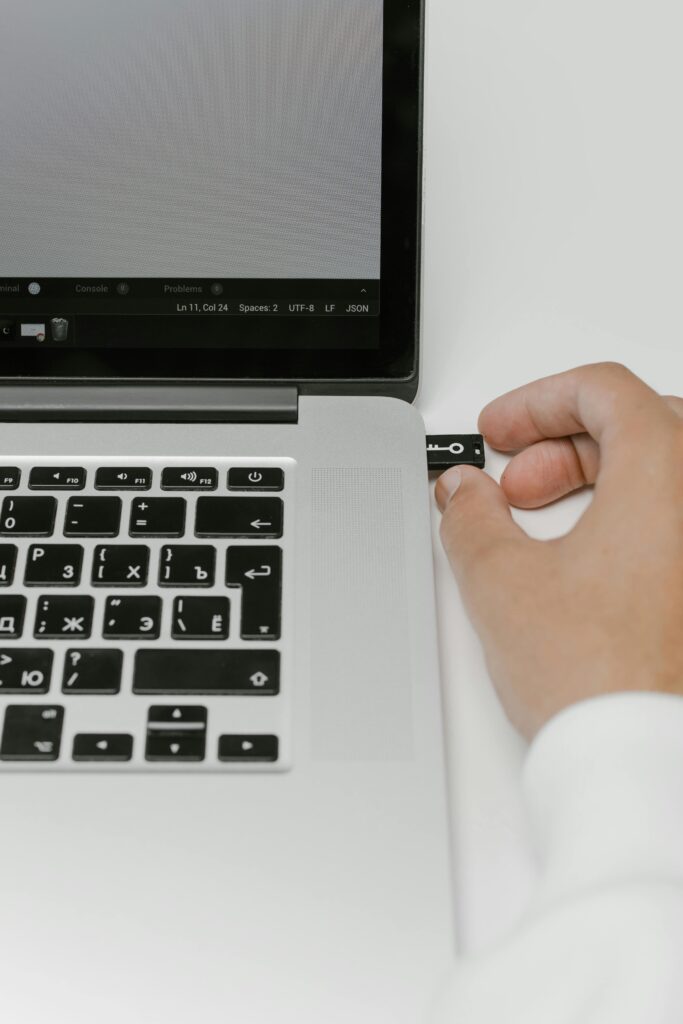
- External Storage Devices: Using external storage devices such as USB flash drives, external hard drives, or SSDs is a straightforward method for transferring data. This method is ideal for moving large files or folders without needing an internet connection.
- Cloud Storage Services: Services like OneDrive, Google Drive, and Dropbox allow you to upload files to the cloud from one PC and download them on another.
- Local Network Transfer: If both PCs are on the same local network, you can transfer files directly using Windows File Sharing or tools like Nearby Sharing.
2. Preparing for the Data Transfer
Before starting the transfer, it’s crucial to prepare both your old and new PCs to ensure a smooth process:
- Back-Up Your Data: Always create a backup of your data before beginning the transfer.
- Organize Your Files: Go through your files and organize them into folders. Delete any unnecessary files to reduce the amount of data that needs to be transferred. This step helps save time and ensures that only essential data is moved.
- Check Software Compatibility: Verify Software Compatibility: Make sure the programs on your new PC can properly open and use the files you’re transferring. Update any software that may not work properly on the new system to avoid compatibility issues.
3. Step-by-Step Methods for Data Transfer
Let’s dive into detailed steps for each method of transferring data between Windows PCs:
Using External Storage Devices
- Connect the External Device: Connect the external device by inserting a USB flash drive, external hard drive, or SSD into the computer you are transferring data from.
- Copy Data to the External Device: Launch File Explorer, locate the files or folders you want to transfer and get them ready to move. Right-click on the selected items and choose “Copy.”In File Explorer, navigate to the external device, right-click inside the folder, and select “Paste.
- Eject and Connect to the New PC: Once the files have been copied, safely eject the external device from the source PC. Connect the device to the destination PC.
- Transfer Data to the New PC: Launch File Explorer, go to the external device, right-click on the desired files or folders, and choose Copy the files and paste them into The selected target folder on the new PC.
Using Local Network Transfer
- Enable File Sharing on Both PCs: On each PC, go to Settings > Network & Internet > Status > Sharing options.
- Share the Folder on the Source PC: Right-click the folder to be shared, choose Properties, switch to the Sharing tab, and click Share. From the drop-down menu, select Everyone and press Share again to confirm.
4. Secure Your Data During Transfer
- Use Encryption: If you’re transferring sensitive data, consider encrypting files before the transfer. This provides an additional level of protection, particularly when utilizing external drives or cloud storage services.
- Keep Antivirus Software Updated: Ensure that both PCs have updated antivirus software to prevent malware from spreading during the data transfer process.
5. Verify Data After Transfer
- Check for Completeness: Once the data transfer is complete, review the transferred files and folders on the new PC. Ensure all essential data is intact and readily accessible.
- Test Applications and Settings: Open a few files to ensure they work correctly on the new system, and check that all settings have been transferred accurately, especially if using tools like Windows Easy Transfer.
6. Maintain a Backup
- Create Backups Before Transfer: Always back up important data before starting the transfer process. This can prevent data loss in case of an interruption or error during the transfer.
- Keep Backups Post-Transfer: Retain a backup of the transferred data for a few days after the process. This ensures you have a copy of the data in case any issues arise on the new PC.
Effective Ways to Transfer Data Between Windows PCs

Transferring data between Windows PCs can be straightforward if you use the right methods and tools. Here are some effective ways to transfer data between Windows PCs:
Using External Storage Devices
One of the simplest methods to transfer data is by using external storage devices like USB flash drives, external hard drives, or SSDs.Attach the device to the source PC, copy the necessary files, and then attach it to the destination PC to finish the data transfer. This method is ideal for large files and does not require an internet connection, making it reliable and easy to use.
Leveraging Cloud Storage Services
Cloud storage services such as OneDrive, Google Drive, and Dropbox allow you to upload files from one PC and download them on another. This method is perfect for smaller files and provides the added benefit of having a backup in the cloud.
Conclusion
Transferring data between Windows PCs is a common task that requires careful planning and execution to ensure the safety and integrity of your files. By following best practices, such as using reliable transfer methods like external storage devices, cloud services, or built-in Windows tools, you can make the process smooth and secure. It’s essential to organize and prioritize your data, check for compatibility, and keep both antivirus software and system drivers updated.


