


Introduction
- Understanding Home Insulation
- When DIY Insulation is a Good Option
- Advantages of DIY Insulation
- Challenges and Risks of DIY Insulation
- When to Call a Professional
- Advantages of Professional Insulation Installation
- Cost Comparison Insulation: DIY vs. Professional Insulation
- Common Mistakes to Avoid in DIY Insulation
- Safety Considerations in DIY Insulation
- How to Decide: DIY or Hire a Pro?
- Environmental Impact of Insulation Choices
- Upgrading Old Insulation: DIY vs. Professional Approach
- Finding the Right Professional for Insulation Installation
- DIY Insulation Guide: Tips for a Successful Home Insulation Project
- Conclusion
- FAQs
Deciding between professional insulation vs. DIY can be challenging, especially if you’re looking to improve your home’s energy efficiency and comfort while staying within budget. This DIY insulation guide will help you determine when it’s best to tackle insulation yourself and when hiring a professional is the smarter choice. While DIY insulation can save money and work well for simple projects, professional insulation ensures proper coverage, efficiency, and long-term savings. In this guide, we’ll explore the pros and cons of both approaches so you can make the best decision for your home insulation needs. Proper insulation is key to maintaining an energy-efficient and comfortable home. Whether you’re looking to reduce energy costs, improve indoor temperature control, or prevent moisture issues, insulation plays a vital role.
Understanding Home Insulation
Insulation acts as a thermal barrier, reducing heat loss in winter and keeping your home cool in summer. It improves energy efficiency, lowers utility bills, and enhances indoor air quality. The most common types of insulation include:
- Fiberglass Batts: Pre-cut panels that fit between wall studs and attic joists.
- Blown-In Insulation: Loose fiberglass or cellulose is applied using a blower.
- Spray Foam Insulation: Expands seamlessly to seal gaps, providing exceptional airtight insulation.
- Rigid Foam Boards: Ideal for basements, attics, and exterior walls.
When DIY Insulation is a Good Option
If you’re considering insulating your home yourself, here are situations where a DIY approach can work well:
- Small-Scale Projects: Adding insulation to attics, garages, or basements is manageable.
- Easily Accessible Areas: Insulating open spaces where no cutting or drilling is required.
- Using Simple Materials: Fiberglass batts and rigid foam boards are relatively easy to install.
Advantages of DIY Insulation
- Cost Savings: You save on labor costs, which can be significant in professional installations.
- Flexibility: You can work at your own pace, scheduling the project when convenient.
- Learning Experience: A DIY project helps you understand your home’s insulation needs.
Challenges and Risks of DIY Insulation
While DIY insulation can be rewarding, it comes with challenges:
- Installation Errors: Gaps or compression in insulation reduce effectiveness.
- Health Risks: Fiberglass and spray foam require protective gear to prevent irritation.
- Lack of Tools: Professionals use specialized equipment that ensures precise application.
When to Call a Professional
Some insulation projects require expert installation. Consider hiring a professional when:
- Handling Hard-to-Reach Areas: Insulating inside walls or crawl spaces can be complex.
- Installing Spray Foam: This requires specialized equipment and expertise.
- Dealing with Moisture Issues: Professionals can identify and address hidden mold or leaks.
Advantages of Professional Insulation Installation
- Expertise and Precision: Professionals ensure complete and even insulation coverage.
- Access to Quality Materials: High-performance insulation options may not be available to homeowners.
- Building Code Compliance: Professionals follow regulations for fire safety and energy efficiency.
Cost Comparison Insulation: DIY vs. Professional Insulation
| Factor | DIY Insulation | Professional Insulation |
| Material Costs | Lower, as you buy directly | Higher, but often better quality |
| Labor Costs | No labor cost | Additional cost for expertise |
| Long-Term Savings | Possible if installed correctly | Higher energy savings with proper installation |
Common Mistakes to Avoid in DIY Insulation
- Leaving Gaps: Even small openings can lead to heat loss.
- Choosing the Wrong Material: The insulation type should match the specific area.
- Ignoring Ventilation: Poor airflow can lead to moisture buildup and mold growth.
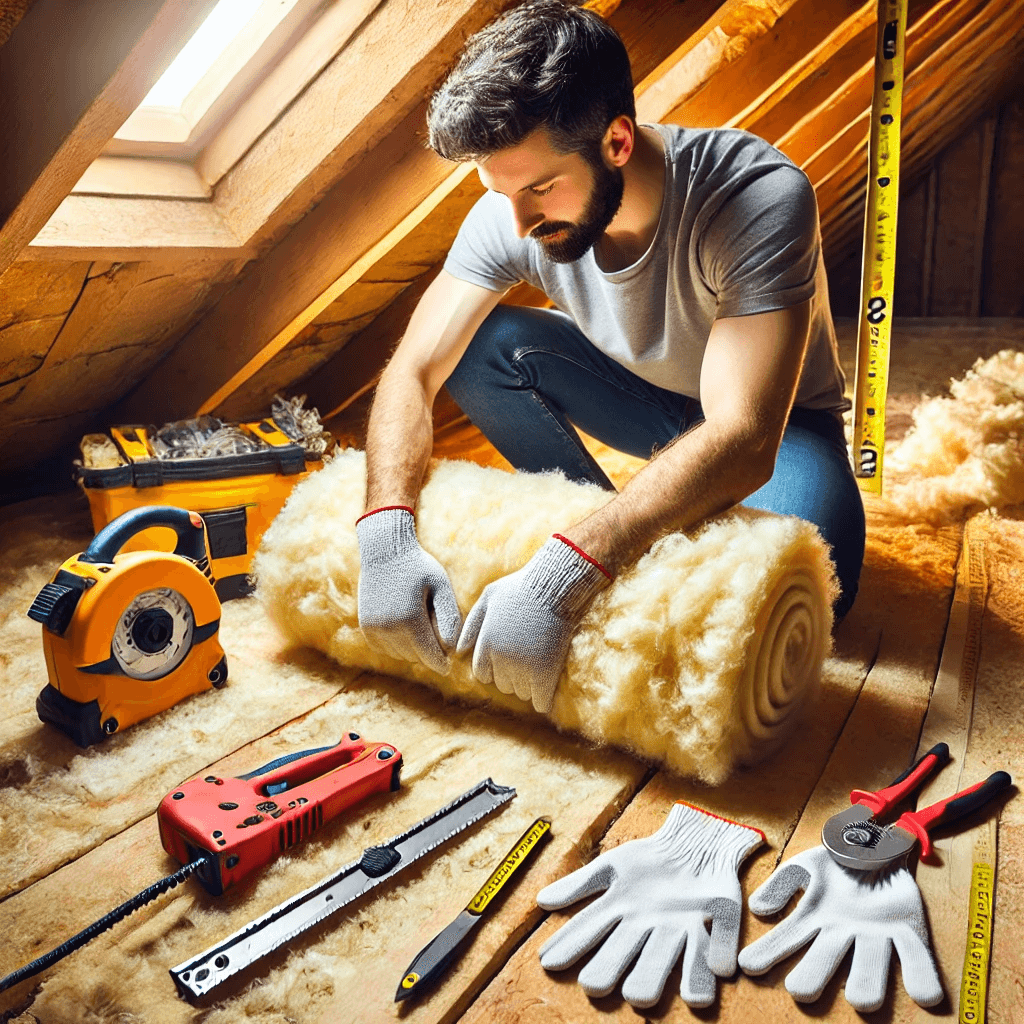
Safety Considerations in DIY Insulation
- Wear Protective Gear: Use gloves, masks, and goggles when handling insulation.
- Ensure Proper Ventilation: Especially when installing spray foam.
- Dispose of Waste Properly: Avoid contamination from old or damaged insulation.
How to Decide: DIY or Hire a Pro?
Consider the following before making a decision:
- Skill Level: Have you worked on home improvement projects before?
- Budget: Can you afford professional installation?
- Project Complexity: Are you insulating a large or difficult area?
Environmental Impact of Insulation Choices
- DIY Insulation: This can create more waste if not installed properly.
- Professional Installation: Often leads to less material waste and better energy efficiency.
- Eco-Friendly Insulation Options: Cellulose, wool, and recycled materials reduce environmental impact.
Upgrading Old Insulation: DIY vs. Professional Approach
If your home has outdated insulation, upgrading can improve efficiency. Consider:
- DIY: Removing small amounts of old insulation and adding new layers.
- Professional: Safely handling hazardous materials like asbestos or mold-infested insulation.
Finding the Right Professional for Insulation Installation
- Check Certifications: Ensure the installer is licensed and experienced.
- Read Reviews: Look at customer feedback to gauge reliability.
- Get Multiple Estimates: Compare pricing and services before hiring.
DIY Insulation Guide: Tips for a Successful Home Insulation Project
Your home yourself can be a cost-effective way to improve energy efficient Insulation and indoor comfort. This DIY insulation guide will help you choose the right materials, avoid common mistakes, and ensure proper installation.
Key Steps for DIY Insulation:
- Choose the Right Insulation Type: Fiberglass batts, rigid foam boards, or blown-in insulation work best for DIY projects.
- Seal Air Leaks First: Use caulk or spray foam to close gaps before installing insulation.
- Wear Protective Gear: Insulation materials can irritate skin and lungs, so gloves, masks, and goggles are essential.
With the right preparation, DIY insulation can enhance your home’s comfort and lower energy bills.
Conclusion
Choosing between DIY vs. professional insulation depends on the scope of your project, budget, and skill level. DIY insulation can save money and work well for small projects, but professional installation ensures proper coverage, energy efficiency, and long-term savings. By weighing the pros and cons, you can make the best decision for your home’s insulation needs.
FAQs
- Is DIY insulation worth it?
- Yes, for small, simple projects like attics or garages.
- What insulation should I not install myself?
- Spray foam and blown-in insulation require professional expertise.
- How much does professional insulation cost?
- Prices vary but typically range from $1.50 to $5 per sq. ft.
- Can improper insulation lead to mold?
- Yes, poor installation can trap moisture, leading to mold growth.
- What are the signs that my home lacks sufficient insulation?
- High energy bills, uneven temperatures, and drafts indicate poor insulation.


