Introduction
Learning beginner wood staining techniques can completely transform your DIY projects, highlighting the natural beauty of wood grain while adding depth and color. How to stain wood isn’t as complex as it might seem; with a few essential steps, anyone can achieve a professional-looking finish. This guide will walk you through choosing the right stain, prepping your wood, and applying your stain for the best results. With the right tools and a little patience, you can create stunning, rich finishes on everything from furniture to smaller wood crafts.
Beginner Wood Staining: Essential Tips for a Perfect Finish

For anyone new to wood finishing, beginner wood staining is a rewarding skill that can dramatically enhance the appearance of wood surfaces. Starting with the basics—like understanding different types of wood stains, preparing your wood properly, and learning application techniques—will help ensure a smooth and beautiful outcome. Here are some foundational tips to get you started on your first wood staining project:
Understanding the Basics of Wood Staining
Wood staining is more than just applying color to wood. It’s a way to highlight the unique grain patterns, giving the wood a deep, rich look. Unlike painting, which sits on the surface, stain penetrates into the wood, enhancing its natural beauty without covering it up.
Types of Wood Stain
There are several types of stains available, each with unique characteristics that suit different projects:
Oil-Based Stains
Oil-based stains are popular for their durability and rich finish. They penetrate deeply into the wood, providing even coverage and requiring fewer coats. However, they can take longer to dry and emit stronger fumes, so proper ventilation is a must.
Water-Based Stains
Water-based stains dry more quickly and are easy to clean up with water, making them eco-friendlier. They’re ideal for indoor projects but may raise the grain on certain types of wood, so a pre-stain conditioner might be necessary.
Gel Stains
Gel stains are thicker and don’t penetrate as deeply, which makes them excellent for staining hardwoods or non-porous woods. They’re great for vertical applications as they won’t drip as easily as liquid stains.
Varnish Stains
These combine stain and varnish in one product, offering color and a protective layer simultaneously. However, they might not achieve the same depth of color as pure stains and may need a top coat for durability.
Selecting the Right Stain for Your Project
Choosing the right stain depends on the type of wood you’re working with and the look you want to achieve. Consider the following when selecting a stain:
- Wood Type: Different woods react to stains in unique ways. Softwoods like pine absorb more stain, often resulting in a darker color, while hardwoods like oak and maple can appear lighter.
- Color Depth: Test a small area or scrap piece to see how the stain will look. You may want a lighter stain to maintain the wood’s natural look or a darker color for a richer finish.
- Durability Needs: For outdoor projects or high-traffic areas, choose a stain that offers weather resistance or apply a protective clear coat after staining.
Preparing Wood for Staining
Proper preparation is key to achieving an even, professional finish.
- Sanding
Begin by sanding the wood with progressively finer sandpaper, starting around 120-grit and finishing with 220-grit. Sanding opens up the wood’s pores, allowing the stain to penetrate evenly. Always sand in the direction of the grain to avoid scratches that can show through the stain. - Cleaning
After sanding, wipe the surface with a tack cloth or a lint-free cloth dampened with mineral spirits to remove any dust. Any remaining dust particles can prevent the stain from adhering evenly. - Using a Pre-Stain Conditioner
For softwoods or blotchy hardwoods, apply a pre-stain conditioner to help the wood absorb the stain more evenly. This step is especially helpful when working with woods like pine or cherry, which can absorb stains unevenly.
Applying the Stain
Gather Your Tools
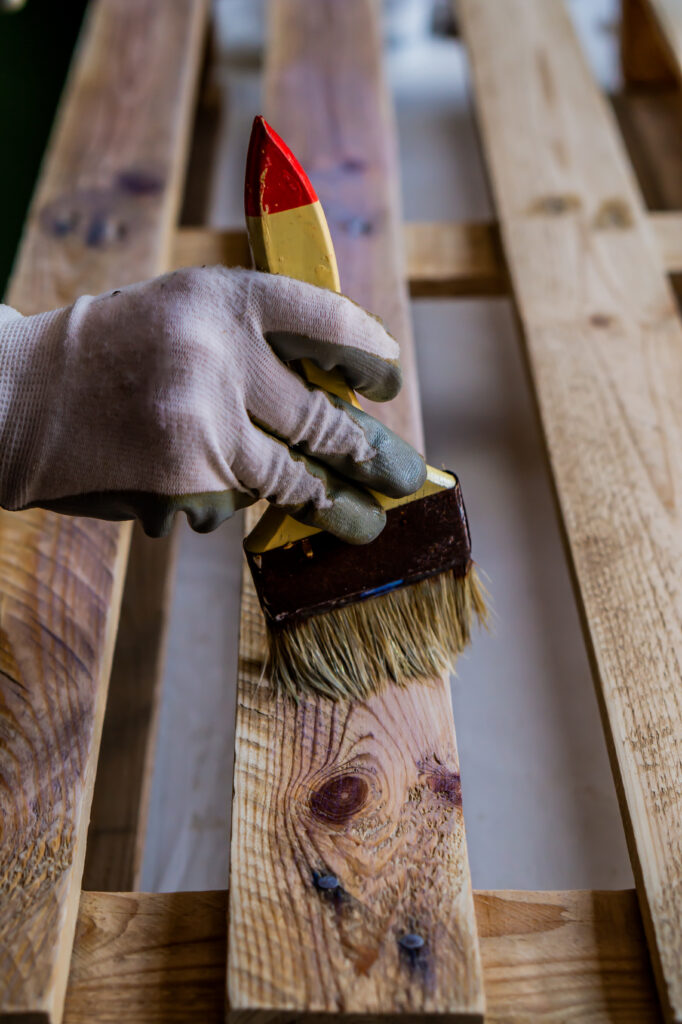
For applying stain, you’ll need a brush, sponge, or cloth, along with gloves and a drop cloth to protect your workspace. Choose a high-quality brush or sponge for even application, especially on large surfaces.
Applying the Stain
Apply the stain evenly along the grain, using your brush, sponge, or cloth. Cover the entire surface, but work in small sections to maintain even coverage. Avoid applying too much at once, as it can lead to a blotchy finish.
Wiping Off Excess Stain
After a few minutes, use a clean cloth to wipe off any excess stain, wiping in the direction of the grain. The longer you leave the stain on before wiping, the darker the finish will be.
Multiple Coats (Optional)
If you desire a darker finish, apply additional coats. Wait for each coat to dry fully according to the manufacturer’s instructions before adding the next one.
Protecting the Stained Wood
Once your wood is stained and dry, applying a protective top coat will preserve the finish and protect the wood from moisture, UV rays, and wear.
Choosing a Top Coat
- Polyurethane: This durable finish is excellent for surfaces exposed to moisture or wear.
- Lacquer: Offers a high-gloss finish and is easy to apply but best suited for indoor projects.
- Wax or Oil: For a natural, low-sheen finish, consider wax or oil, which provides a subtle sheen but requires periodic reapplication.
Applying the Top Coat
Apply the top coat using a clean brush or foam applicator, following the wood grain. Allow each coat to dry fully and sand lightly between coats for a smooth finish.
Conclusion
Staining wood is an accessible DIY project that enhances the natural beauty of your woodwork. By selecting the right stain, preparing the wood, and following the proper techniques, you can achieve a beautiful, durable finish. Whether you’re staining furniture, cabinets, or smaller wood crafts, this beginner’s guide covers everything you need to create a stunning stained finish on your projects. Enjoy the process and watch your wood pieces transform with rich, vibrant color!


